Parts of a Roof: Roofing Systems and Professional Installation Explained
Your roof system is the shelter you can count on to protect what you love most—your family and friends. But, as you enjoy the benefits of your home’s roof, have you ever stopped and wondered, “What are the different parts of a roof?” Whether you want a new roof system installed or a roof repair, we’re here to help you become a savvier homeowner with all of the tips you need on roofing terminology and installation!
When you want the best information you can trust, come to the source. Here at Mid-Shore Exteriors, we’re Maryland roofing experts with decades of hands-on experience with roofing systems. That’s why we’ve put together this insider guide to give you a behind-the-scenes peek at how your roof works so that you can make smart decisions for protecting your home.
Keep reading to explore more about roofing terminology and how we install a roof or contact our team today for information on our roof system installation services!
Insider Roofing Terminology Every Homeowner Should Know in 2023

So, what are the different elements of a roof? From pop culture to construction, most industries have a unique lingo that describes the tools they use. Roofing terminology gives you an inside look at the tricks of the roofing trade with the definitions, tools, and materials it takes to construct a five-star roof!
Here’s the 411 on the main roofing terminology you should know:
- Slope OR Pitch: Every roof has a slope that allows water to drain off. The higher the slope/pitch, the faster the water runs off because of the angle. Some roofs have very little pitch, which can cause water to lay and drain very slowly.
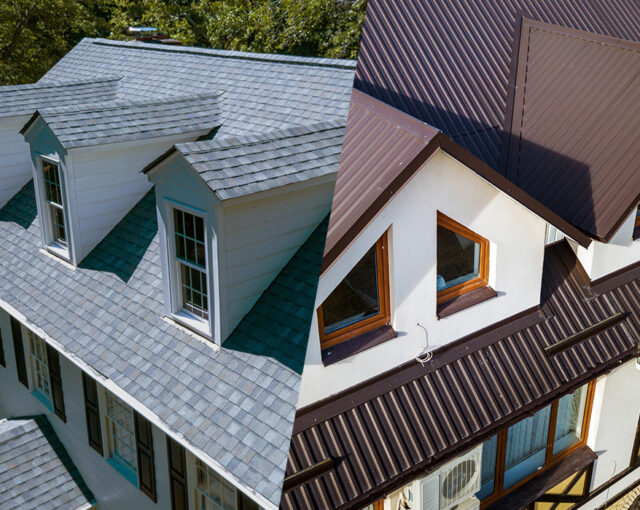
- Style: There are many roof styles, from mansard roofs and gambrel roofs to hip and shed roofs. The most common type of roof is the gable roof. Gable roofs have a unique low profile to resist hurricane-force winds.
- Ridge: The roof ridge is the area where two roof sections meet at the peak of the roof. This area is often the first to become damaged in high winds.
- Eave: The eave is the lower horizontal border of your roof, overhanging the wall within the first three feet of your roof.
- Rake: The rake is similar to the eave, except it goes vertical along the sides of the roof, where it meets the wall from the bottom to the top.
- Valley: The roof valley is an intersection where two sloping roofs join at a “V” like angle. It’s critical that you use the correct valley installation method for this part of the roof because, when improperly installed, the valleys pose a risk for serious leaks.
- Hip: A hip roof has no vertical ends. If the structure is square, the hip roof slopes on all slides and meets at a peak. If the roof is rectangular, all of the ends slope inward toward a ridge formed by the adjacent sides. The “hip” refers to the external angle formed where two adjacent sides meet.
- Pipe/Venting Penetrations: These penetrations are areas where air escapes the house and can be common problem spots vulnerable to leaking.
- Frame: The basic architecture of your roof is the frame, which typically uses rafters or trusses.
- Flashing: Roofers use flashing to create a waterproof barrier for areas like walls or chimneys to protect from the elements.
When you choose Mid-Shore Exteriors, you have residential and commercial roofing experts in your corner. We’ll explain all of our terminologies in plain language and work with you through every step of the process. Reach out to our team online with common questions like “What are the different parts of a roof?” or to request a free quote!
The Different Parts of The Roofing Process at Mid-Shore Exteriors

When you understand the parts of a roof and how they fit into the installation process, you can have peace of mind that you can cut through the jargon and speak with your roofing team clearly.
Here at Mid-Shore Exteriors, we use the best roofing methods based on the installation instructions from the manufacturer. It’s been working for decades and allows us to offer material and workmanship warranties offered through the shingle manufacturer. These additional warranties give you an added level of security, knowing that your roof has protection for many years to come.
The steps we take to install our roof systems include:
- Preparing the Area: Whenever you have construction done on your home, it’s best to protect the areas where you’re not having home maintenance performed. Here at Mid-Shore Exteriors, we are incredibly thorough and make sure to protect your structure as well as your landscaping. We use a catch-all system that protects your exterior walls and plants from damage. We also use an Equipter Buggy to efficiently get materials on and off the roof, which makes the cleanup process easier and more efficient.
- Remove Old Roofing/Inspecting Plywood: In order to install a new roofing system, it’s best to remove all of your old roofing materials first. This prep allows our team of experts to inspect the wood substrate and ensure there is no damage that needs replacing and that the substrate is sufficient.
- Leak Barrier: Our next step is to install a high-quality self-adhered leak barrier that creates waterproof protection for the most damage-prone areas of the roof.
- Roof Deck Protection: Your roofing team will then add a synthetic underlayment of roof deck protection to safeguard against rain driven by the wind that can get under your shingles.
- Starter: An asphalt base installed prior to shingles along the eaves and rakes adheres to the shingles of your roof. This process prevents any blowoff during heavy weather with high winds.
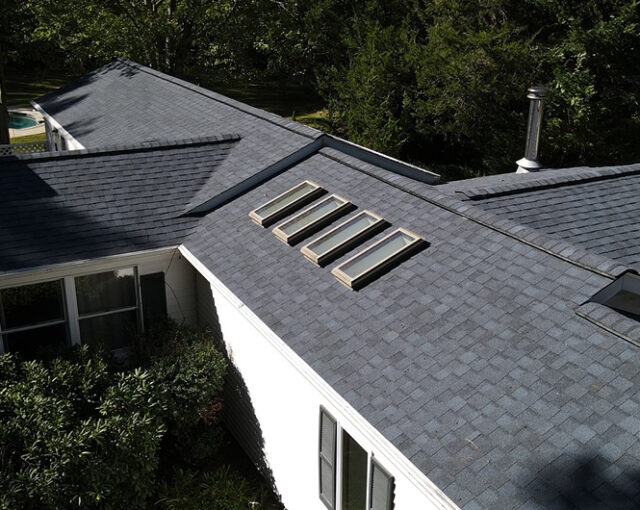
- Shingles: Then, we’ll install quality Lifetime Architectural or designer shingles in the color of your choice using a 6-nail installation method. These shingles provides the best coverage against strong winds.
- Ridge Vent: The next step is to install a high-profile ridge vent. When combined with your soft vents, the ridge vents work to allow fresh air to enter your attic space and allow hot air to escape from the ridge of your roof. Ventilation is essential to a long-lasting roof and prevents premature deterioration of plywood and shingles.
- Ridge Cap Shingles: The final step in the process is to add ridge cap shingles on the hip and ridge areas of the roof to safeguard your roof system against leaks and high winds.
Want to talk with an expert about your roofing project? You can turn to Mid-Shore Exteriors for comprehensive answers on the various parts of a roof and transparent pricing for your project. Contact us today or learn more about when you need a new roof by browsing our frequently asked questions!
Choose Mid-Shore Exterior Today for Superior Local Roof Systems

When you need a trustworthy new roof system or replacement, Mid-Shore Exteriors is here to help. The Mid-Shore Exteriors roofing team has built a reputation as top-quality roofers for 20 years on the Eastern Shore of Maryland! But don’t just take our word for it—check out our five-star testimonials and online reviews.
Ready to find your new roof system or still have questions about what are the different parts of a roof? Our experts can help you to learn more about the roofing process and get you connected with a free estimate. Contact us to get started with your project today!